Connecting Workflow Nodes
Connecting Nodes enables the visual representation of the steps.
- Within your Workflow select the text of the first node.
The border changes to green, and a Hand
 displays.
- Drag to the second
Node.
The view updates with an Arrow connecting the Nodes.
Using Connection Labels
Optionally, you can add a Label to a Connection, this can make it easier for clinicians to follow the correct treatment path in a complex Workflow.
- Double click the Connection.
A cursor displays.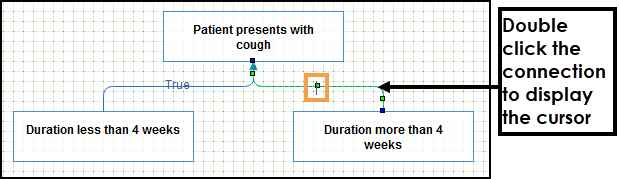
- Enter the text for the Label.Note - If you select Return within the label, this splits the text over two lines.

-
Select the Workflow background when finished.
- Optionally, select the Label.
A Yellow Square displays.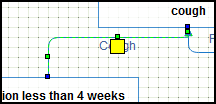
-
Drag the Yellow Square to reposition the Label.
-
To edit a Label, double click and update the text.
Changing the Connection Type
The default Connection Type is Orthogonal, to change this:
- Select the Connection.
Green Adjustment Points display. - Right click and choose Properties or select Properties
 from the Toolbar.

- Select the Connection Properties drop-down.
- Choose from:
- Horizontal
- Orthogonal (default)
- Vertical
The view updates.
- Alternately, drag the Connection Points to manually reposition and reshape the Connection.

See - Steps to Creating a Workflow.